In this article, you will learn everything you need to know about sharpening your Japanese garden tools. Whether you’re a seasoned gardener or just starting out, keeping your tools sharp is essential for maintaining the beauty and functionality of your garden. We’ll cover the tools you’ll need, the steps to sharpening them properly, and some tips and tricks along the way.
First things first, you’ll need a few tools to get started. Grab a sharpening stone, some water, and a towel. Now you’re ready to begin. Start by wetting the sharpening stone and placing it on a stable surface. Then, hold the tool you want to sharpen firmly and place it at a 20-degree angle against the stone. Move the tool back and forth across the stone, applying even pressure, until the blade is sharp. Rinse off any debris and repeat the process as needed. With these simple steps, you’ll have your Japanese garden tools sharp and ready to go in no time!
Why Sharpening Japanese Garden Tools is Important
Maintaining the sharpness of your Japanese garden tools is crucial to ensure optimal performance and efficiency in your gardening tasks. When your tools are sharp, you can effortlessly cut through branches, stems, and foliage, allowing you to work more efficiently and effectively. In addition, sharpened tools increase productivity by reducing the time and effort required for each task. Moreover, regular sharpening extends the lifespan of your tools, saving you money in the long run.
Understanding Japanese Garden Tools
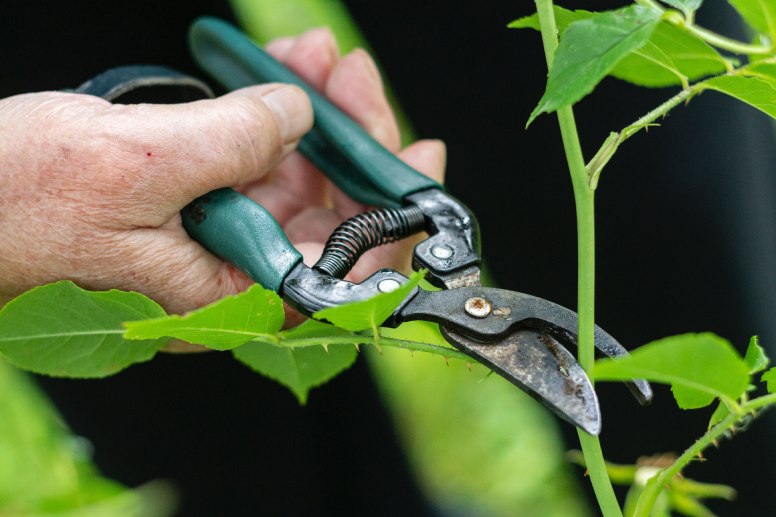
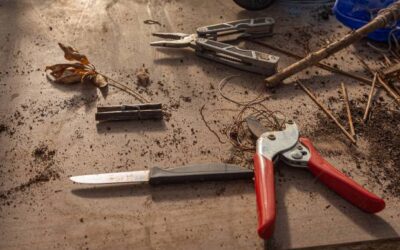
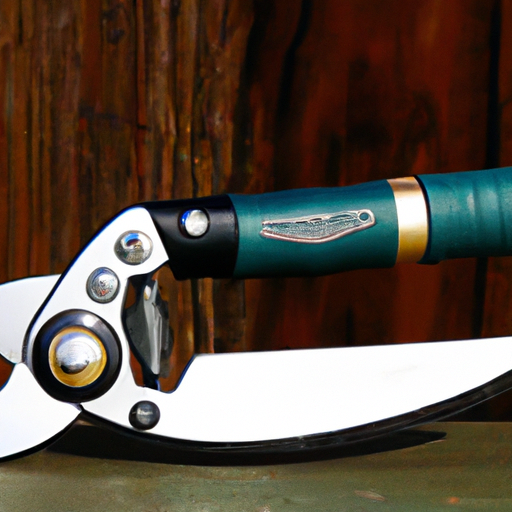
Japanese garden tools are designed with precision and craftsmanship to facilitate the art of gardening. These tools are specially tailored for various gardening tasks, each serving a unique purpose. Some commonly used Japanese garden tools include pruning shears, hedge shears, bonsai scissors, loppers, and saws.
Understanding the blade materials of Japanese garden tools is essential in choosing the right sharpening method. Most Japanese garden tools have blades made of high-quality carbon steel or stainless steel. Carbon steel blades offer superior sharpness and durability, but they require more maintenance to prevent rust. On the other hand, stainless steel blades are rust-resistant, but they may be less sharp and may require more frequent sharpening.
To maintain the performance and longevity of your Japanese garden tools, regular maintenance is required, including sharpening, cleaning, and proper storage.
Preparing the Tools for Sharpening
Before sharpening your Japanese garden tools, it is essential to prepare them properly. Start by cleaning the tools to remove any dirt, debris, or sap that may have accumulated on the blades. You can use a soft cloth or brush to gently wipe away the dirt and grime. For stubborn stains, a mild detergent solution can be used, followed by thorough rinsing and drying.
Once the tools are clean, carefully inspect them for any signs of damage. Look for any nicks, chips, or cracks on the blades, as these can affect the sharpening process and the overall performance of the tools. If you notice any damage, it is advisable to have the tools repaired or replaced before proceeding with sharpening.
If your Japanese garden tools have removable blades, it may be necessary to disassemble them for sharpening. Refer to the manufacturer’s instructions or seek professional advice to ensure proper disassembly and reassembly.
Choosing the Right Sharpening Tools
To sharpen your Japanese garden tools effectively, you need the right sharpening tools. The selection of sharpening tools depends on the type of tool and blade material.
Sharpening stones are commonly used for sharpening Japanese garden tools. These stones are available in various grit levels, ranging from coarse to fine. Coarse grit stones (200-400 grit) are used for initial shaping and repair, while finer grit stones (1000-8000 grit) are used for refining and polishing the edge.
Files and rasps are suitable for sharpening larger blades or removing material quickly. They are ideal for shaping and restoring the edge of blades that have become dull or damaged.
Whetstones are another popular choice for sharpening Japanese garden tools. These stones are water-soaked before use and are available in different grit levels. They are excellent for maintaining the sharpness of the blades and achieving a polished edge.
When choosing sharpening tools, it is important to consider the specific requirements of your Japanese garden tools and select the appropriate tools accordingly.
Sharpening Techniques
To achieve optimal results when sharpening your Japanese garden tools, it is essential to use proper sharpening techniques. Here are some key techniques to keep in mind:
Applying the Correct Angles
Different Japanese garden tools have different blade angles that must be followed during sharpening. It is important to identify the angle specific to each tool and maintain it consistently throughout the sharpening process. This can be done by referring to the manufacturer’s recommendations or seeking advice from experts.
Using a Proper Sharpening Motion
When sharpening Japanese garden tools, it is important to use the appropriate sharpening motion. For straight blades, a back-and-forth motion is typically used, while curved blades require a more controlled circular or rocking motion. Using the correct sharpening motion ensures that the entire blade surface is evenly sharpened.
Avoiding Overheating
While sharpening, it is important to avoid overheating the blade, as this can damage the hardness and temper of the steel. Overheating can occur when excessive pressure is applied or when the blade is improperly held against the sharpening surface. To prevent overheating, periodically dip the tool in water or use a lubricant on the sharpening surface.
Step-by-Step Guide to Sharpening Japanese Garden Tools
Now let’s walk through a step-by-step guide to sharpening your Japanese garden tools:
Preparing the Sharpening Surface
Select a flat and stable surface for sharpening your tools. Place a rubber mat or a non-slip material underneath to ensure stability and prevent accidents. Ensure that the sharpening surface is clean and free from any debris or contaminants that may affect the sharpening process.
Setting the Proper Angle
Identify the correct sharpening angle for your specific tool. Use a sharpening guide or angle guide if needed to maintain consistency. Position the tool at the desired angle and hold it firmly against the sharpening surface.
Starting with Coarse Grit
Begin the sharpening process by using a coarse grit sharpening stone or file. Hold the tool securely and move it back and forth or in a circular motion along the entire length of the blade. Apply consistent pressure and maintain the sharpening angle. Repeat this process until the blade is adequately sharpened and any nicks or chips have been removed.
Progressing to Finer Grit
Once the blade has been reshaped and repaired, transition to a finer grit sharpening stone or whetstone. Repeat the sharpening process as described above, focusing on refining the edge and achieving a polished finish. Progress through the grit levels gradually, ensuring that each level removes any scratches or burrs left by the previous grit.
Testing the Sharpness
After sharpening your Japanese garden tools, it is essential to test their sharpness before use. Here are some methods to test the sharpness:
Using Paper or Cardboard
Holding a piece of paper or cardboard, gently draw the blade across the edge. If the blade effortlessly cuts through the material without tearing or snagging, it is considered sharp.
Test Cuts on Soft Materials
Make test cuts on soft materials such as leaves or stems. A sharp tool will provide clean and precise cuts with minimal effort. If the cuts are jagged or require excessive force, further sharpening may be necessary.
Fine-Tuning as Necessary
If your Japanese garden tools do not meet your desired level of sharpness, repeat the sharpening process with a finer grit stone or file. Pay attention to any additional nicks or damage that may have occurred during testing and address them accordingly.
Maintaining the Sharpness
To preserve the sharpness of your Japanese garden tools, regular maintenance is crucial. Here are some tips to maintain their sharpness:
Regular Cleaning and Oil
Regularly clean your tools after each use to remove dirt, debris, and sap. Apply a thin layer of oil to the blades to prevent rust and preserve their sharpness. Make sure to wipe off any excess oil before storing the tools.
Storage in a Dry Area
Store your Japanese garden tools in a dry area to prevent moisture buildup, which can lead to rusting. Consider using a tool roll or a dedicated toolbox to protect the blades from damage and maintain their sharpness.
Avoiding Hard Impacts
Avoid dropping or subjecting your tools to hard impacts, as this can chip or dull the blades. Treat your Japanese garden tools with care and handle them responsibly to ensure their longevity.
Safety Precautions
When sharpening your Japanese garden tools, it is important to prioritize safety. Here are some safety precautions to follow:
Wearing Protective Gear
Always wear protective gear such as gloves and safety glasses when sharpening your tools. This helps prevent injuries from accidental slips or flying debris.
Working in a Well-lit Area
Ensure that you have sufficient lighting when sharpening your tools. A well-lit area allows for better visibility and reduces the risk of accidents.
Keeping Tools Away from Children
Keep your Japanese garden tools out of the reach of children. These sharp tools can cause serious injuries if mishandled or used without adult supervision.
Conclusion
Regularly sharpening your Japanese garden tools is essential for maintaining their performance, efficiency, and longevity. By following the correct techniques and using the appropriate sharpening tools, you can keep your tools in optimal condition and enjoy the art of gardening with precision and ease. Remember to always prioritize safety and take the necessary precautions when sharpening your tools. With proper maintenance, your Japanese garden tools can continue to enhance your gardening experience for years to come.

